Thank you for being one of our buyers. We are glad that you have joined us and that you are a user of our products. We hope you like it. As part of our support for our products, we have provided a complete user guide for our products. All you have to do is follow this guide step by step to install your site.
This item made by Vironeer under Envato Extended & Regular License
What Vironeer Support Include?

We don't provide free customizations, installations, or server problem fixing. Those can be offered as paid services.
mod_rewrite, or Nginx with rewrite rulesmax_execution_time = 300memory_limit = 128M or higherupload_max_filesize / post_max_size = 64M or higherallow_url_fopen = On1 - Login to your hosting panel and open MySQL Databases.

2 - Create a database.

3 - Create a database user.

4 - Add the user to the database.

5 - Give the user all privileges.

Script.zip to your server, then extract it.
1 - Open your server file manager.

2 - Open your website directory and click Upload.

3 - Select Script.zip.

4 - Extract the zip file.

5 - Open your website URL to start installation.

If you see error 500 or 403, check server permissions/logs or contact your host.
1 - Confirm all requirements are enabled.
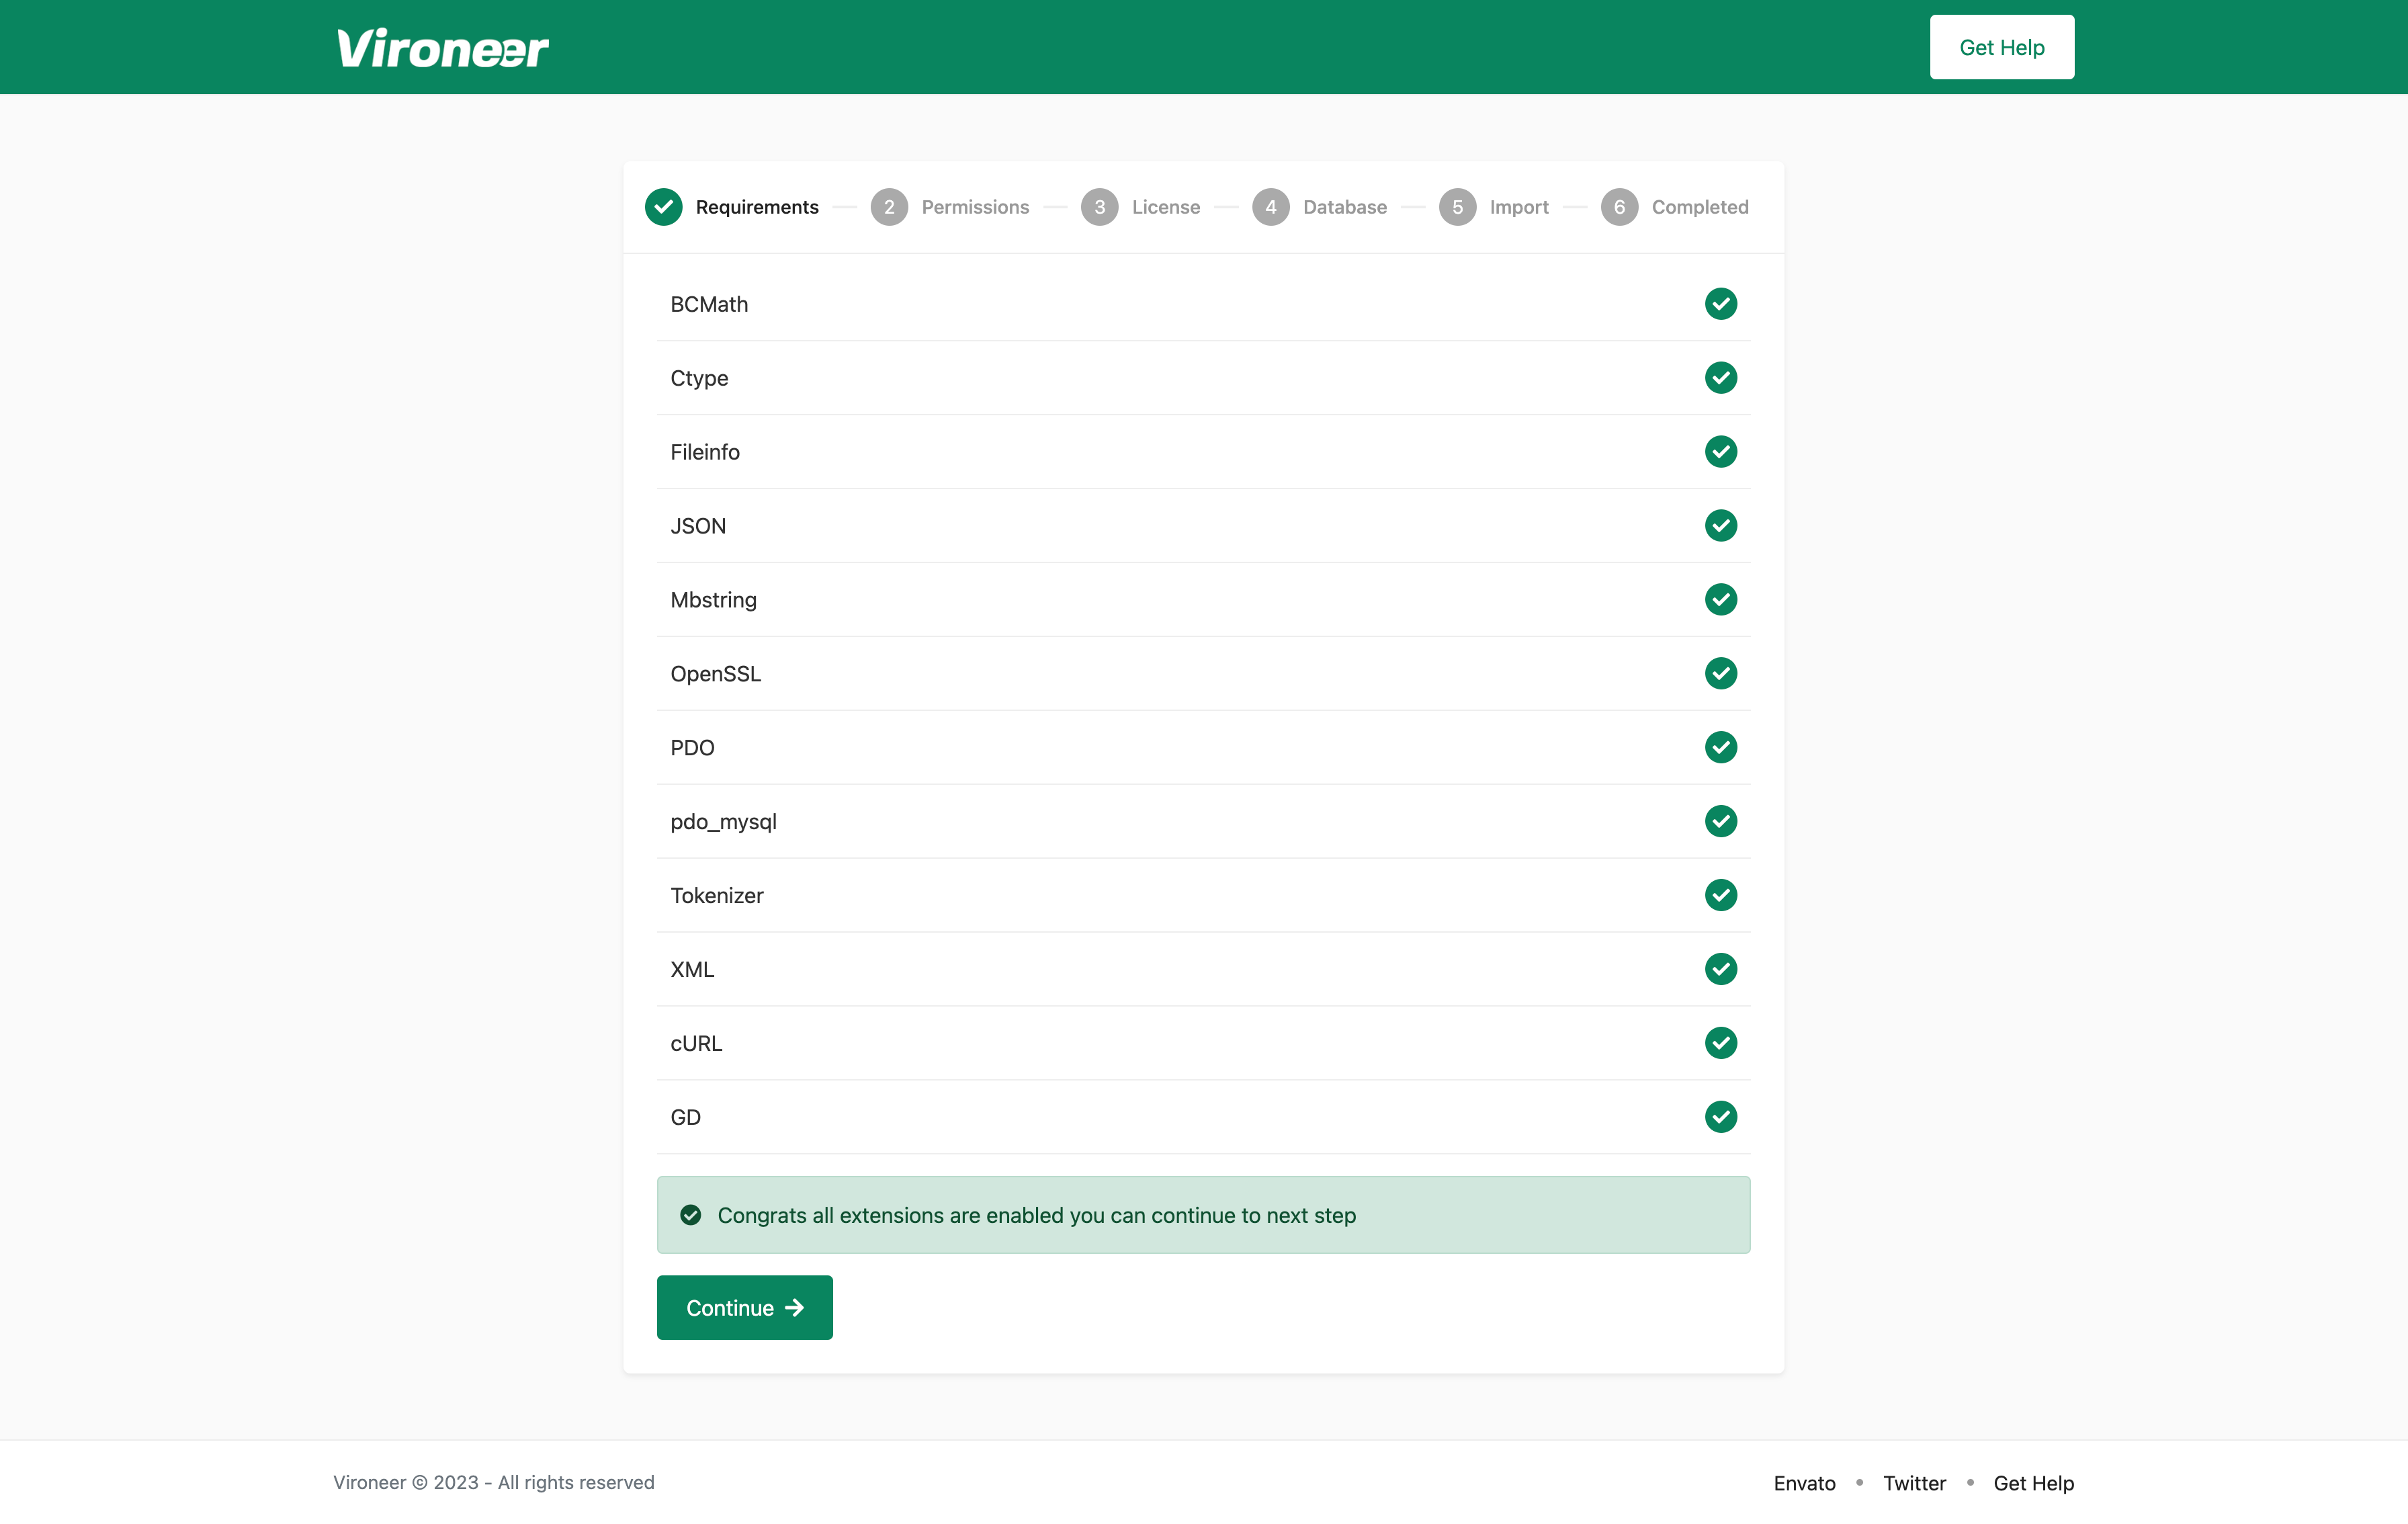
2 - Set the listed folders/files to permission 0775.

3 - Enter your purchase code and continue.

4 - Enter your database details and continue.

5 - Import the database.


6 - Set website details and admin account, then finish.

Backup your files and database before updating.
.env file.update.sql, import it into your database.System Information and clear cache.After installation, open yourdomain.com/admin and sign in with the admin account you created.
/admin on your website.The dashboard shows ticket statistics, recent tickets, and quick overview cards so you can see support activity at a glance.
Go to Members in the sidebar.
Go to Tickets to manage support requests.
Go to Departments to create support departments (for example Billing, Technical). Tickets are assigned to departments, and agents can be linked to them.
Go to Pages to create static pages such as About, Privacy, or Terms. You can set title, content, slug, SEO fields, and keywords.
This menu appears only when Knowledge Base is enabled in Settings → General → Actions.
Open your profile from the bottom of the sidebar. Update name/email, change password, and enable or disable Google Authenticator 2FA.
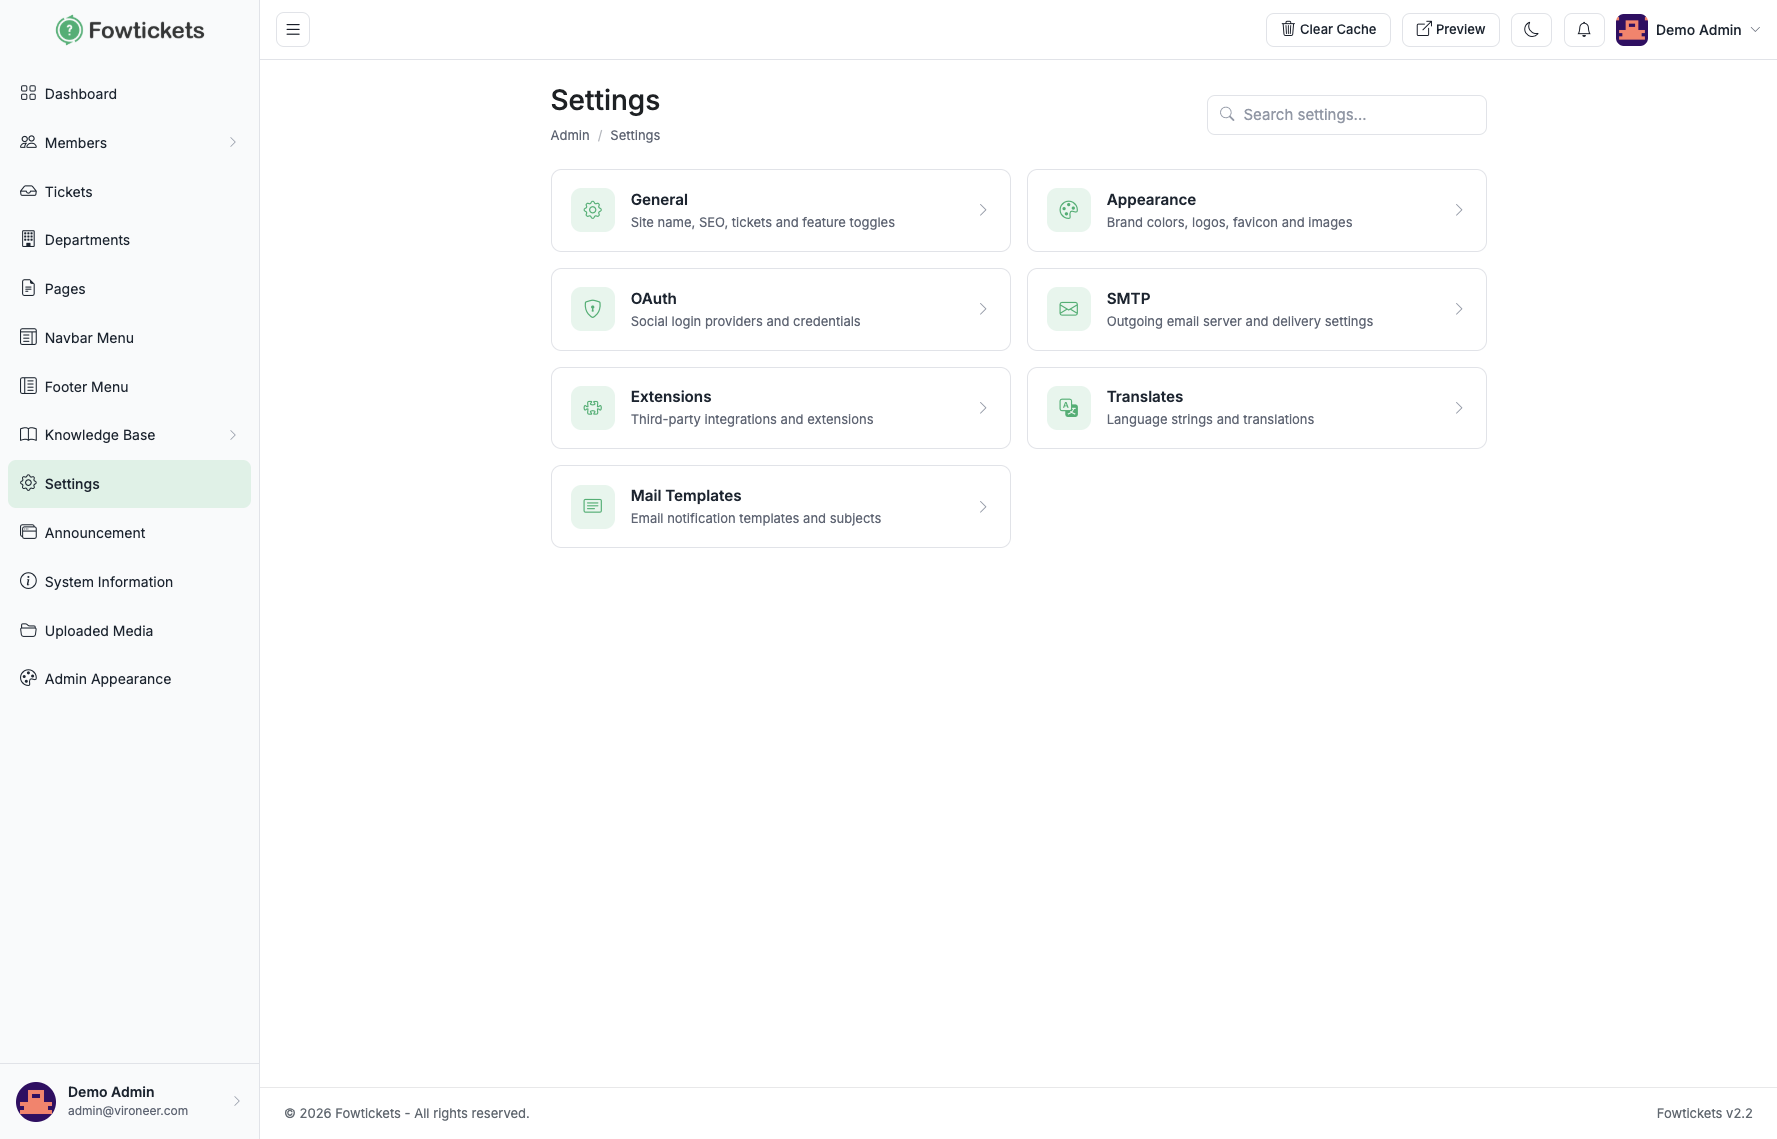
Go to Settings. You will see cards for General, Appearance, OAuth, SMTP, Extensions, Translates, and Mail Templates. Use the search box to find a settings page quickly.
Go to Settings → General.

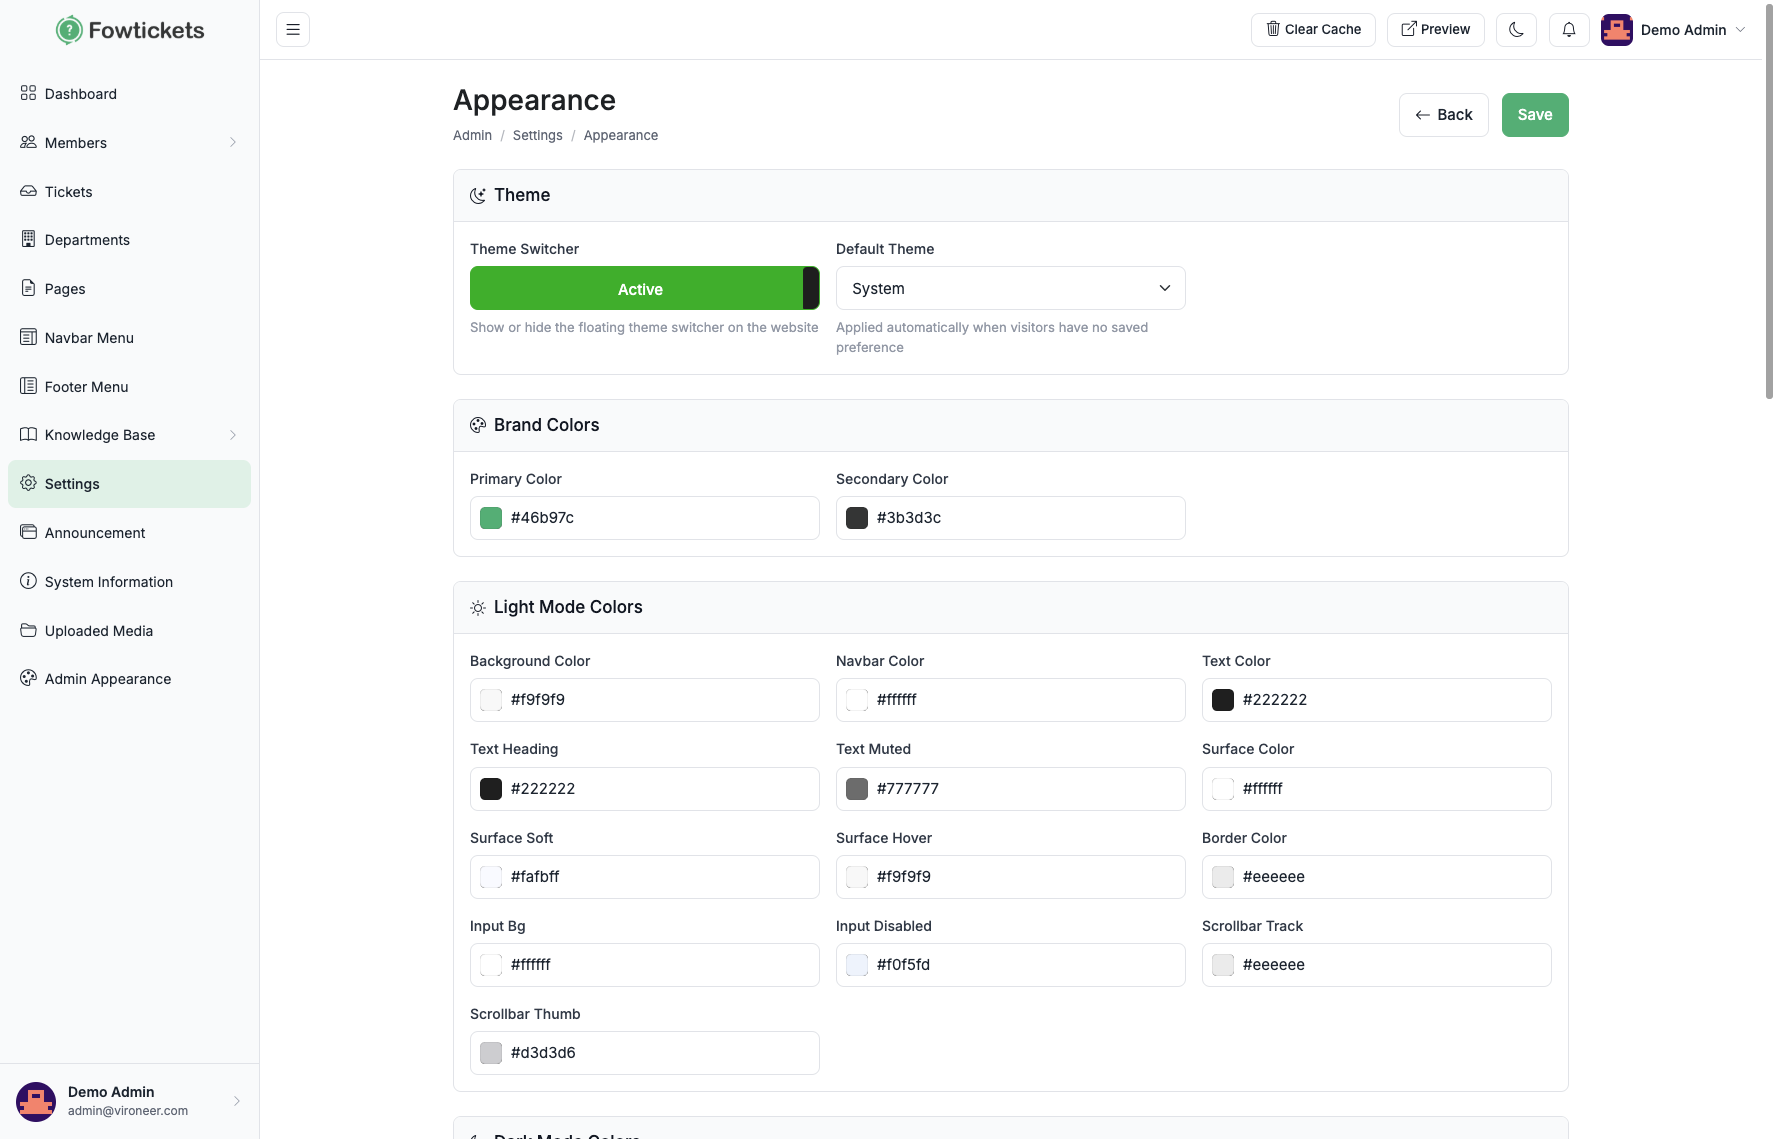
Go to Settings → Appearance to control the public website look.
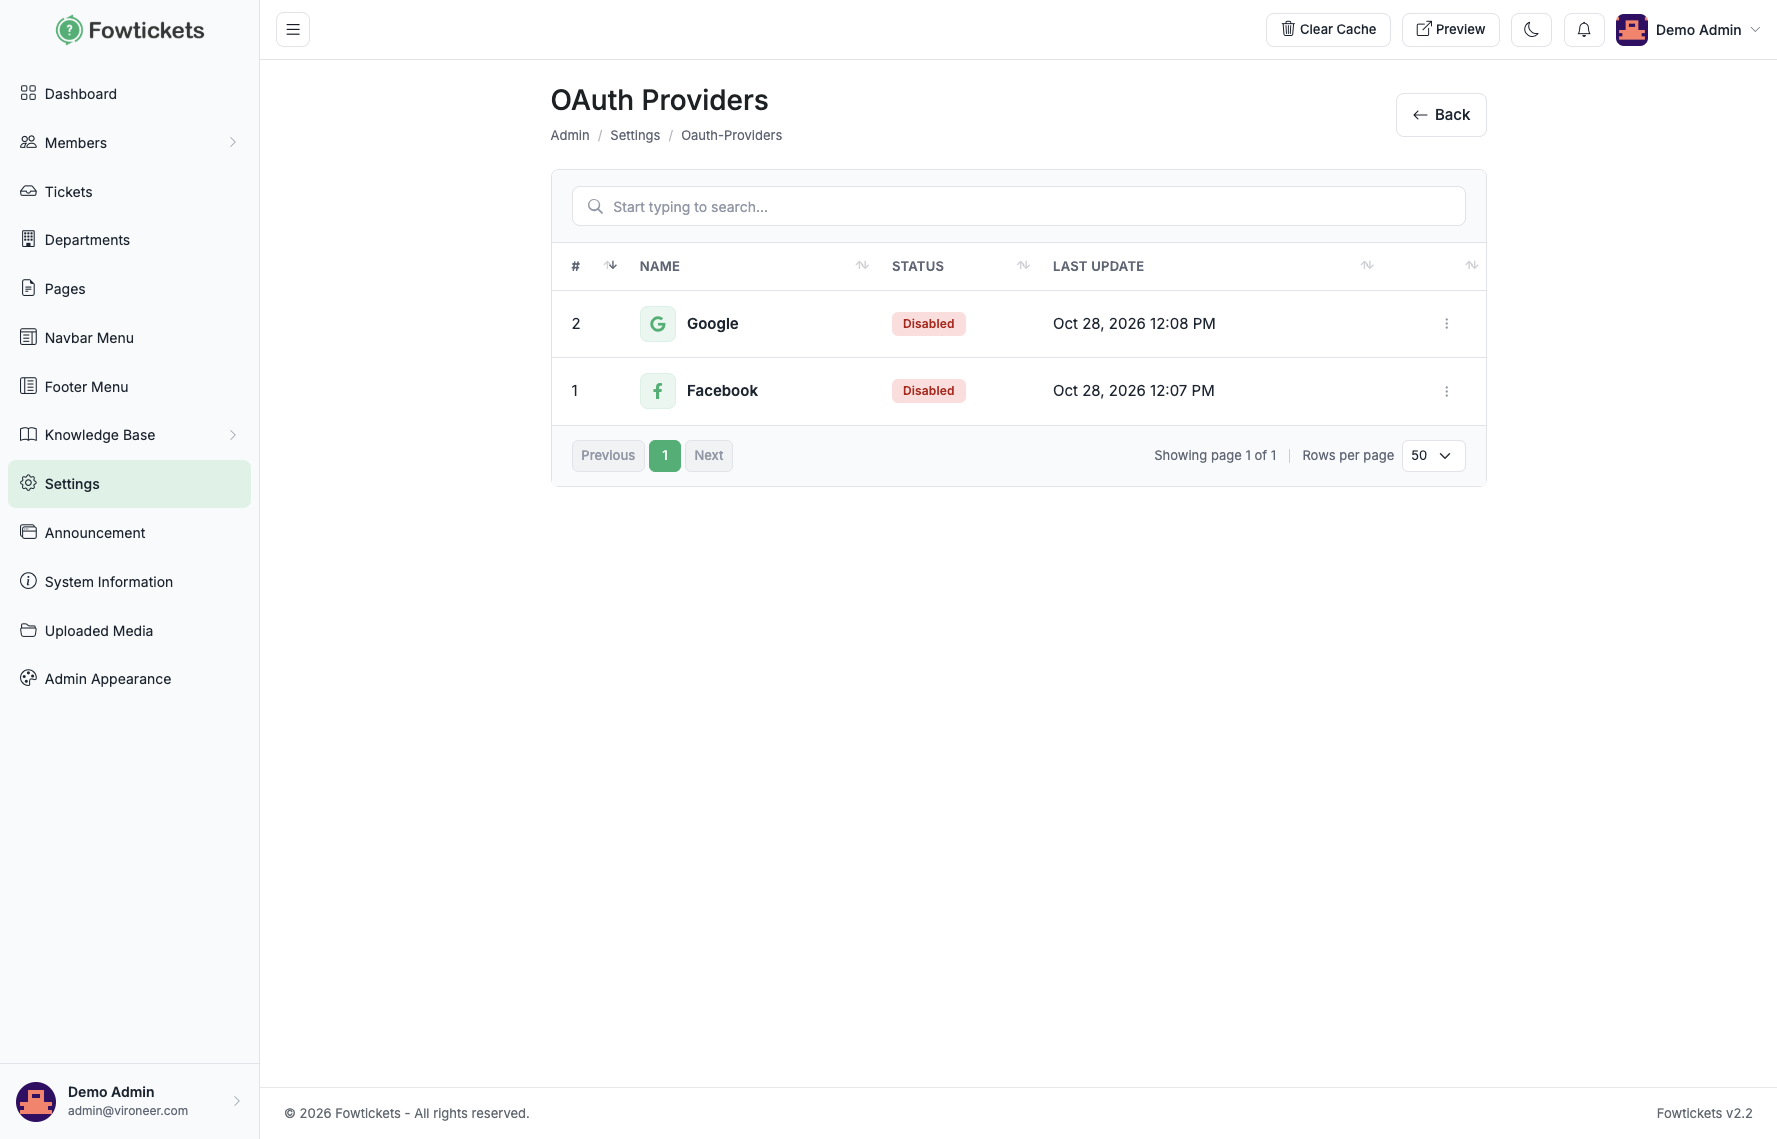
Go to Settings → OAuth to enable Google or Facebook login.
Go to Settings → SMTP, enter your mail server details, save, then use the test email option.

Go to Settings → Extensions. Available extensions:

Go to Settings → Translates to edit website and admin language strings, and set language direction (LTR/RTL).

:value, :seconds, or {username}.
Go to Settings → Mail Templates to edit email subjects and bodies. Use the shortcodes listed on each template edit page.


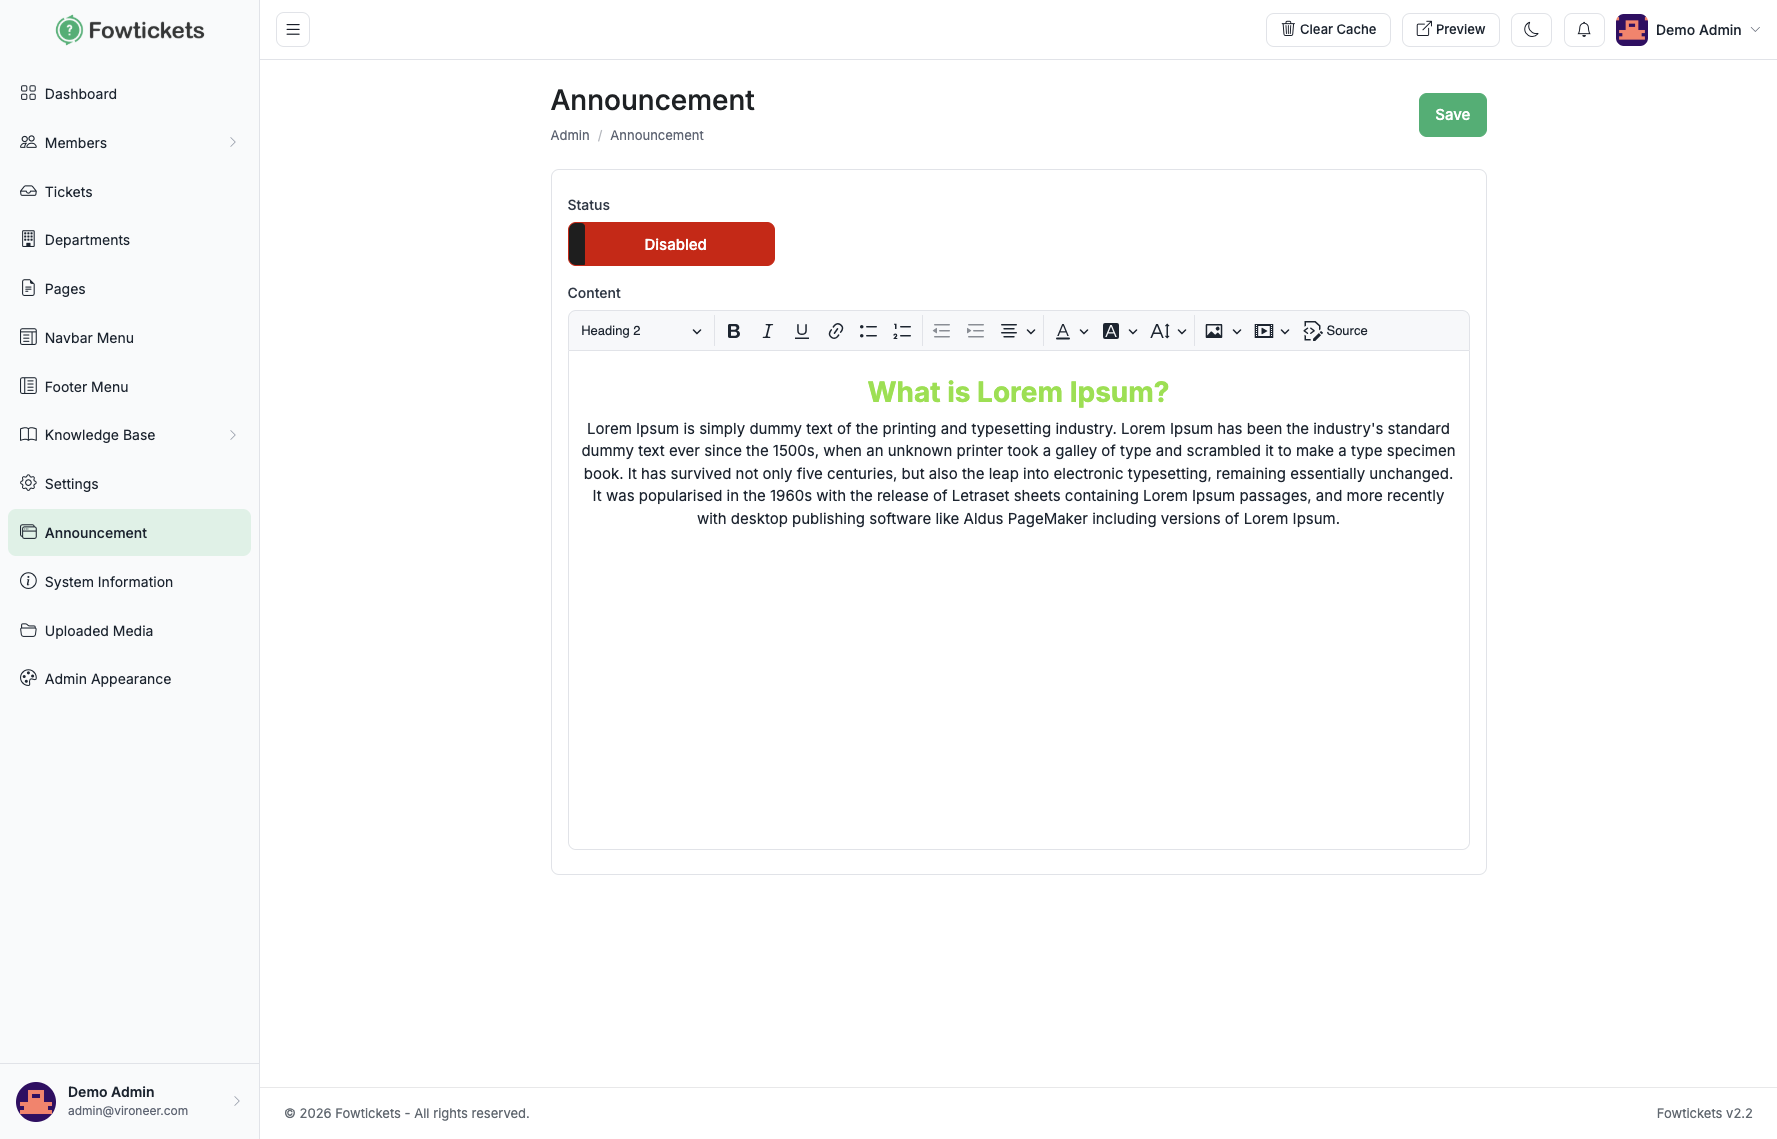
Go to Announcement to enable and edit the popup notice shown to website visitors.
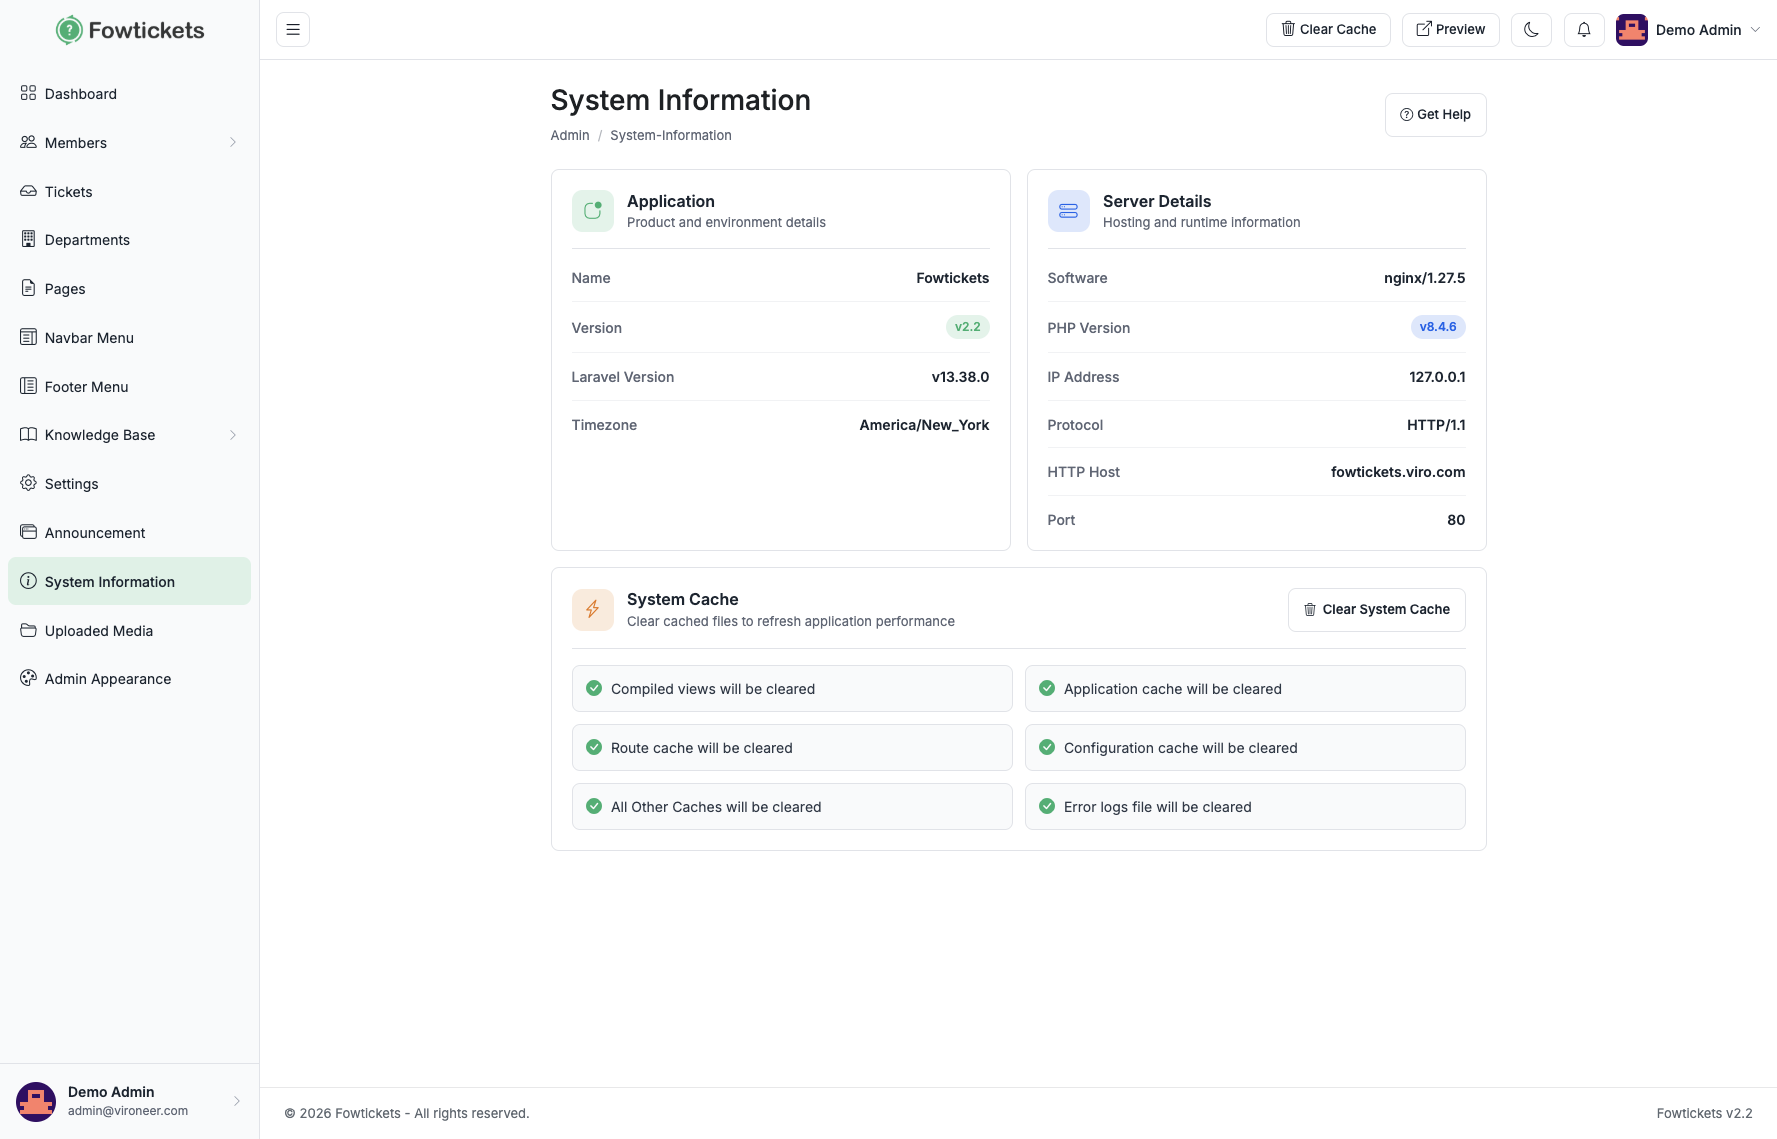
Go to System Information to check application/server details and clear cache after updates or major setting changes.
Go to Uploaded Media to view or delete files uploaded through the editor.
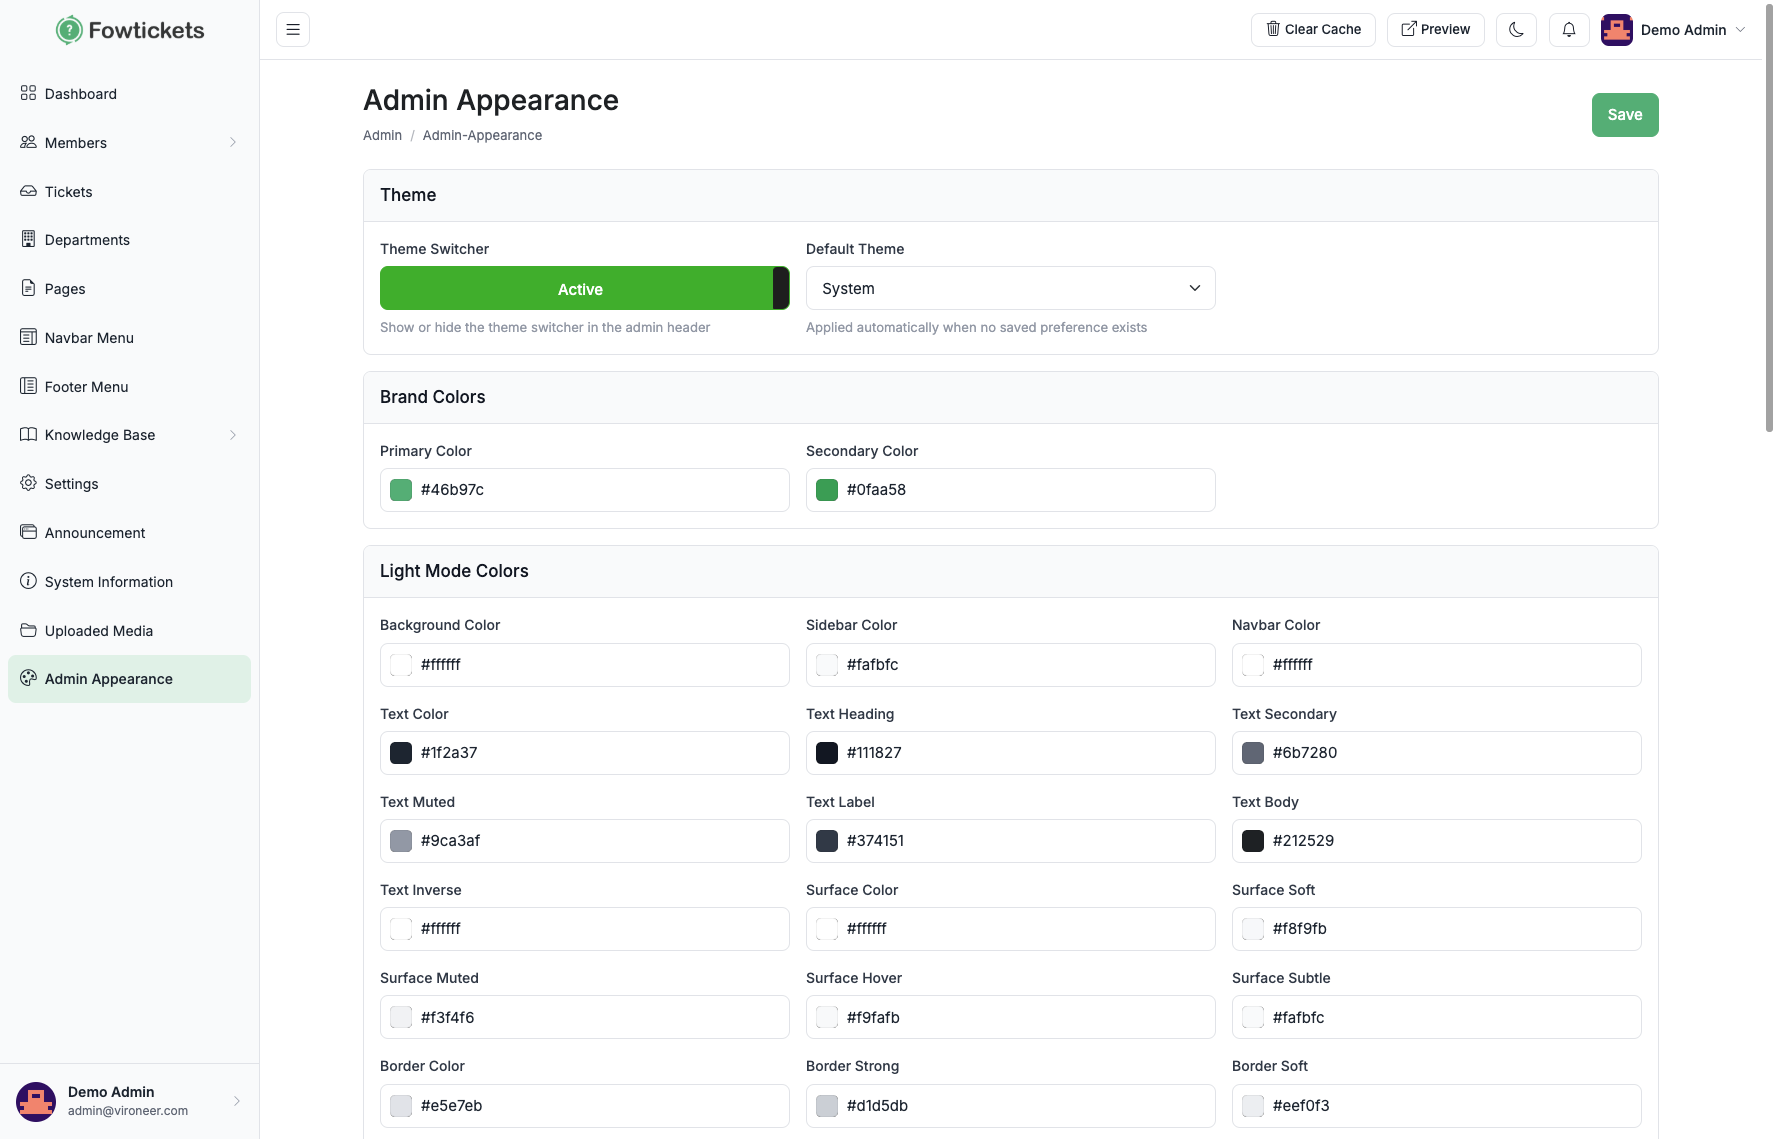
Go to Admin Appearance to style the admin panel (separate from the public website).